How to Turn Your Wedding Website Into a Memory Page After the Big Day
Most wedding websites go dark within a few weeks of the reception. The couple stops updating it, the domain quietly expires, and the only people who visit are the ones who did not get the memo that the wedding already happened.
That is a missed opportunity. Your wedding website already has your guest list, your story, your photos from the prenuptial shoot, and the structure of a page your family and friends already know how to find. Turning it into a memory page takes less work than building it did, and it gives everyone who attended a place to return to.
Decide What You Want the Page to Do
Before you start adding content, settle on one purpose for the page. A memory page that tries to do everything ends up feeling like an abandoned scrapbook.
Pick one of these three directions and build from there.
A photo and video gallery. The page exists to house your official wedding photos and video once your photographer and videographer deliver them. Guests can view and download. Simple, useful, done.
A thank-you and tribute page. The page carries your gratitude to your principal sponsors, your entourage, and your guests. It acknowledges the people who made the wedding possible and gives your ninongs and ninangs something to show their own families.
A combined keepsake. Photos, video, thank-you notes, and a short written account of the day. More effort, but the most complete version of a memory page.
Choose based on how much time you have after the wedding and how much your photos and video mean to you as artifacts worth preserving publicly.
Update Your Homepage First
Your wedding website homepage still says "We're getting married" or shows a countdown timer at zero. Change that before you do anything else.
Replace the countdown with a simple header that marks the wedding as having happened. Something like "We got married" followed by the date and location is enough. Add your favorite photo from the reception as the new hero image. That one change signals to every visitor that the page has moved into a new chapter rather than being forgotten mid-sentence.
Build Your Photo Gallery
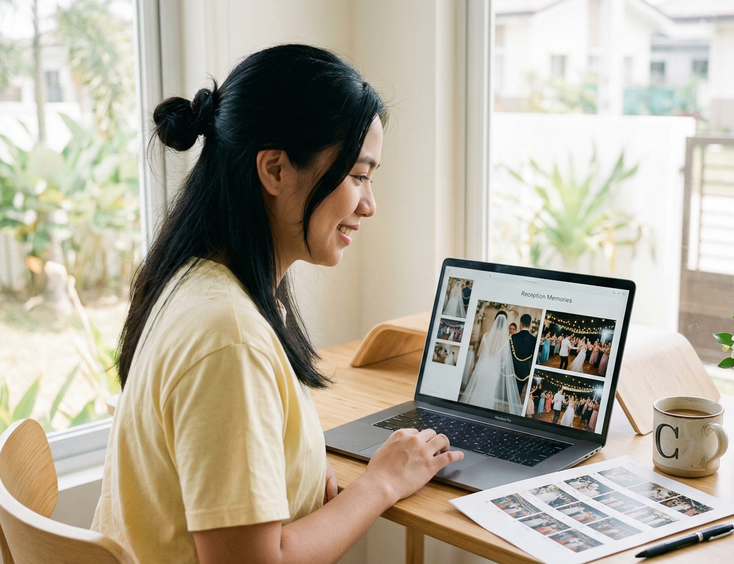
Your official photos will take weeks or months to arrive after the wedding. In the meantime, post a small selection of phone photos from the day so the page has life while you wait.
When your photographer delivers the full gallery, choose 40 to 60 images that cover the full arc of the day: getting ready, the ceremony, the entourage, the reception program, the dancing, and the candid moments in between. You do not need every shot. You need the ones that tell the story of that specific day to someone who was there and someone who was not.
Most wedding website platforms support gallery pages with grid or slideshow layouts. Use whichever format loads cleanly on mobile. Your Filipino family members will view the gallery on their phones, often in group chats where someone has just shared the link.
If your photographer shoots in a style that reflects Filipino wedding culture, the gallery will naturally include moments that guests recognize and want to find themselves in: the veil and cord ceremony, the coin ritual, the wedding dance, the cotillion de honor if you had one. Let those moments anchor the gallery rather than burying them in the middle.
Add Your Wedding Video
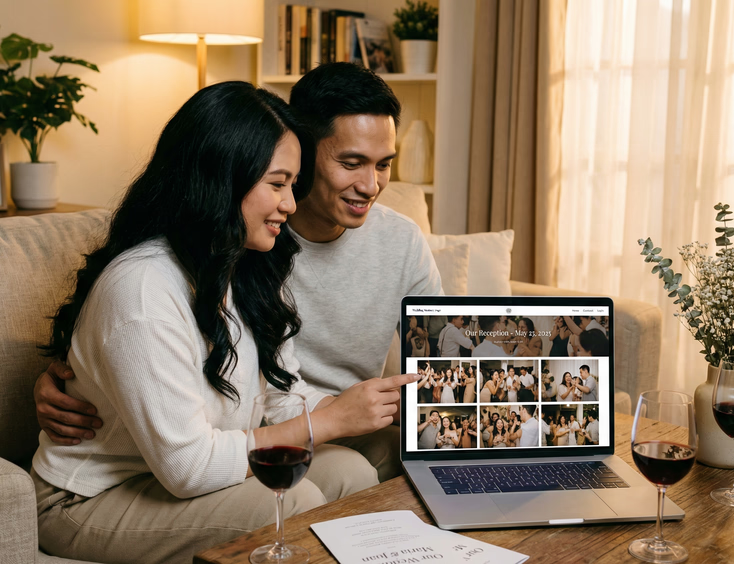
Your video will arrive later than your photos. When it does, embed it directly on the page rather than just linking to YouTube or Vimeo. An embedded video keeps guests on your page and gives the memory page its most emotionally complete element.
Place the video near the top of the page, below your hero image but above the photo gallery. Most guests who visit will watch the video first and scroll through photos after.
If your videographer produced both a same-day edit and a full film, embed both. The same-day edit captures the energy of the reception in a compressed form that guests who attended will recognize. The full film gives everyone else the complete picture.

Write Your Thank-You Section
A public thank-you on your memory page is not a replacement for personal messages to your principal sponsors and immediate family. Send those separately and privately. The thank-you section on your website serves a different purpose: it acknowledges everyone who was part of the day in a way they can see and share.
Structure it in layers. Start with your principal sponsors listed by name. Follow with your entourage, your wedding suppliers, and then a general note to all your guests.
For your ninongs and ninangs specifically, consider writing one or two sentences about each couple or individual rather than just listing names. A line that says "To Ninong Boy and Ninang Cora, who have been with our family since before we were born" carries more weight than a name on a list and costs you very little to write.
Keep the tone warm but not overwrought. Your guests will read this. Write it the way you would say it in person, not the way you would write it in a formal letter.
Keep Your Supplier Credits
Leave your supplier list on the memory page. Your photographer, videographer, florist, caterer, stylist, hair and makeup artist, and venue all contributed to what your guests saw and experienced that day.
Crediting them publicly is good practice and genuinely useful for guests who want to book the same suppliers. A cousin who loved your florals will want to know who did them. A colleague planning their own wedding will save your photographer's name. Your memory page becomes a quiet referral tool without any extra effort from you.
Link to each supplier's website or social media profile where possible. If you found your suppliers through a directory, linking back helps other couples find the same quality vendors. Couples still building their supplier list can find wedding website and RSVP specialists through wedding website and RSVP suppliers in the Philippines as a starting point.
Add a Guestbook or Message Wall
Some wedding website platforms include a guestbook feature that lets visitors leave short messages after the event. If yours does, turn it on.
Filipino wedding guests love to leave messages, especially when they know the couple will read them. Your ninongs and ninangs, your college friends, and your parents' barkada will each bring a different layer of warmth to a running wall of notes. Read them together on a slow Sunday. Keep the page open long enough for late arrivals to find it.
If your platform does not support a guestbook natively, a simple embedded Google Form that feeds into a spreadsheet works just as well.

Set a Timeline for Updates
Your memory page will not build itself overnight. Your photos and video arrive on different timelines. Your thank-you section takes a few sittings to write properly. Give yourself a realistic schedule.
A workable approach:
- Week one after the wedding: Update the homepage, swap the countdown for a wedding-day header, post phone photos as placeholders.
- Month one: Add the official photos when your photographer delivers them. Write and publish the thank-you section.
- Month two or three: Embed the wedding video when your videographer delivers the final cut. Finalize supplier credits.
Spreading the updates across that window keeps the page feeling alive during the months when your guests are most likely to check back for photos and video.
Decide How Long to Keep It Live
Keep your memory page live for at least one year. That window covers the anniversaries, the delayed viewings from overseas relatives, and the guests who keep meaning to look at the photos and finally do it six months later.
After a year, you have options. Some couples let the domain expire and save the photos elsewhere. Others keep the site live indefinitely because the cost is low and the page means something to them. A few migrate the content to a personal blog or family website.
Whatever you decide, export your photos and written content before the domain lapses. Platform data does not always survive account closures, and your wedding gallery is worth keeping in a format you control.
One Page, Two Chapters
Your wedding website served your guests before the wedding by giving them everything they needed to show up prepared. Your memory page serves them after by giving them a place to return to the day.
The work of turning one into the other is small compared to what you built during planning. Update the homepage, add the photos, write the thank-you notes, embed the video when it arrives. The page that helped your guests find the church can become the page they bookmark to remember why they were glad they came.
For couples still in the planning stage, the complete guide to creating a wedding website for your Philippine wedding covers how to build the foundation that makes this transition easy. And if managing RSVPs from principal sponsors was the hardest part of your pre-wedding planning, tips for managing RSVPs online when your ninongs and ninangs are not tech savvy has the approach that works for the next couple in your family who asks for advice.
Still Searching for a Right Match?
Find Your Perfect Wedding Supplier Today!
Discover trusted wedding suppliers across the Philippines in our complete directory. Compare services and connect with the ones that fit your dream celebration.
Browse Wedding SuppliersFeatured Posts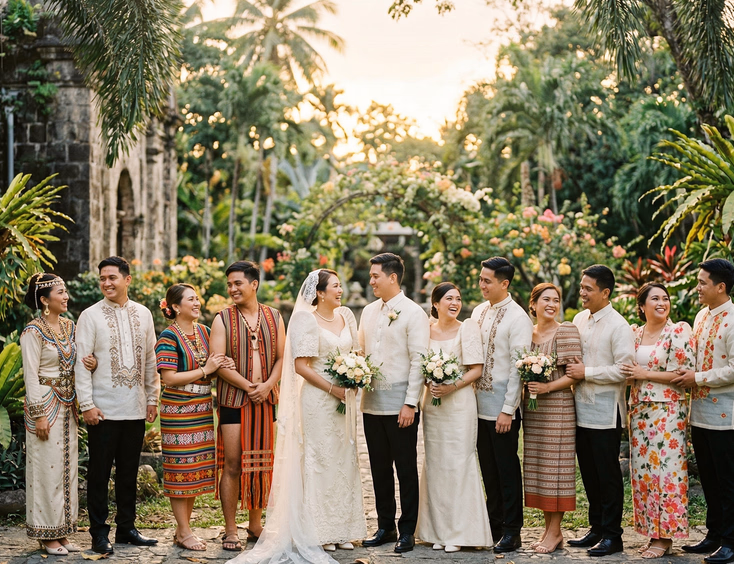

Regional Wedding Customs Every Filipino Couple Should Know
23 mins readThe Complete Guide to Filipino Wedding Invitations: From Traditional Customs to Modern Trends
12 mins readThe Complete Filipino Couple's Guide to Wedding Rings & Bands in the Philippines: Traditions, Styles, Budgets & Where to Buy
22 mins read